Wednesday, March 26, 2014
 After what seems like an eternity of cold and snowy weather, spring has finally decided to roll into our area! For many of us, that means it’s time to roll up our sleeves and complete items on our spring maintenance checklist. To get you started, here are 10 things to complete around your house to get it ready for the warmer months ahead.
Inspect your roof. Now that the cold weather has passed, it’s time to check the condition of your roof. Cracked or missing shingles need to be replaced. Also check your gutters and downspouts for debris buildup. With impending April showers, you don’t want to find out too late that you have a leak in your roof or a blocked gutter.
Check your air conditioning unit. Just as you prepared your furnace in the fall, you’ll need to prepare your air conditioner for the warmer temperatures. Clean or replace your air filter and check for leaks in hoses or vents.
Pressure wash the outside of your home. Build up from dead leaves, mold and mud can leave the outside areas of your home looking dingy and grimy. Rent a power washer from your local hardware store or borrow one from a neighbor and clean your deck, driveway, fences and lawn furniture.
Clean from top to bottom. Spring is a great time to clean the areas that are usually neglected. Dust or vacuum stair rails, ceiling fans, and the tops of cabinets. Schedule to get your carpets and upholstered furniture cleaned or plan to do it yourself.
Wash your windows. You can’t really appreciate the beautiful sun shine if your windows are dirty and foggy. Wash the inside and outsides of your windows. Don’t forget to clean out the sills and window tracks with a soft brush or rag.
Prepare your lawn equipment. Time to dig out the lawn mower again! Check the blade for dullness and refill the oil and gas containers. You'll lengthen the life of the mower and improve the look of your lawn.
Inspect your smoke detectors. Make sure each smoke detector in your home has fresh batteries. Change the batteries quarterly, or as needed.
Clean out the dryer lint trap. Even if you clear out lint after each load of laundry, dust, hair and lint can still be trapped in the vent. A clogged vent can lessen your dryer’s efficiency and is a major fire hazard. Follow this step-by-step tutorial from About.com on how to properly clean your dryer vent.
Clean up the yard. Clear away dead limbs, leaves, and bushes that have expired over the winter. Keep all landscaping trimmed away from utility lines and your AC unit.
Vacuum the refrigerator coils. The coils you’ll find on the bottom or back of your refrigerator conduct the hot air from inside the unit. If they're coated with dust, they do the job less efficiently and cause your fridge to work harder. That means a higher electric bill for you. Use a vacuum cleaner hose or a brush to clean the coils.
Thursday, January 9, 2014
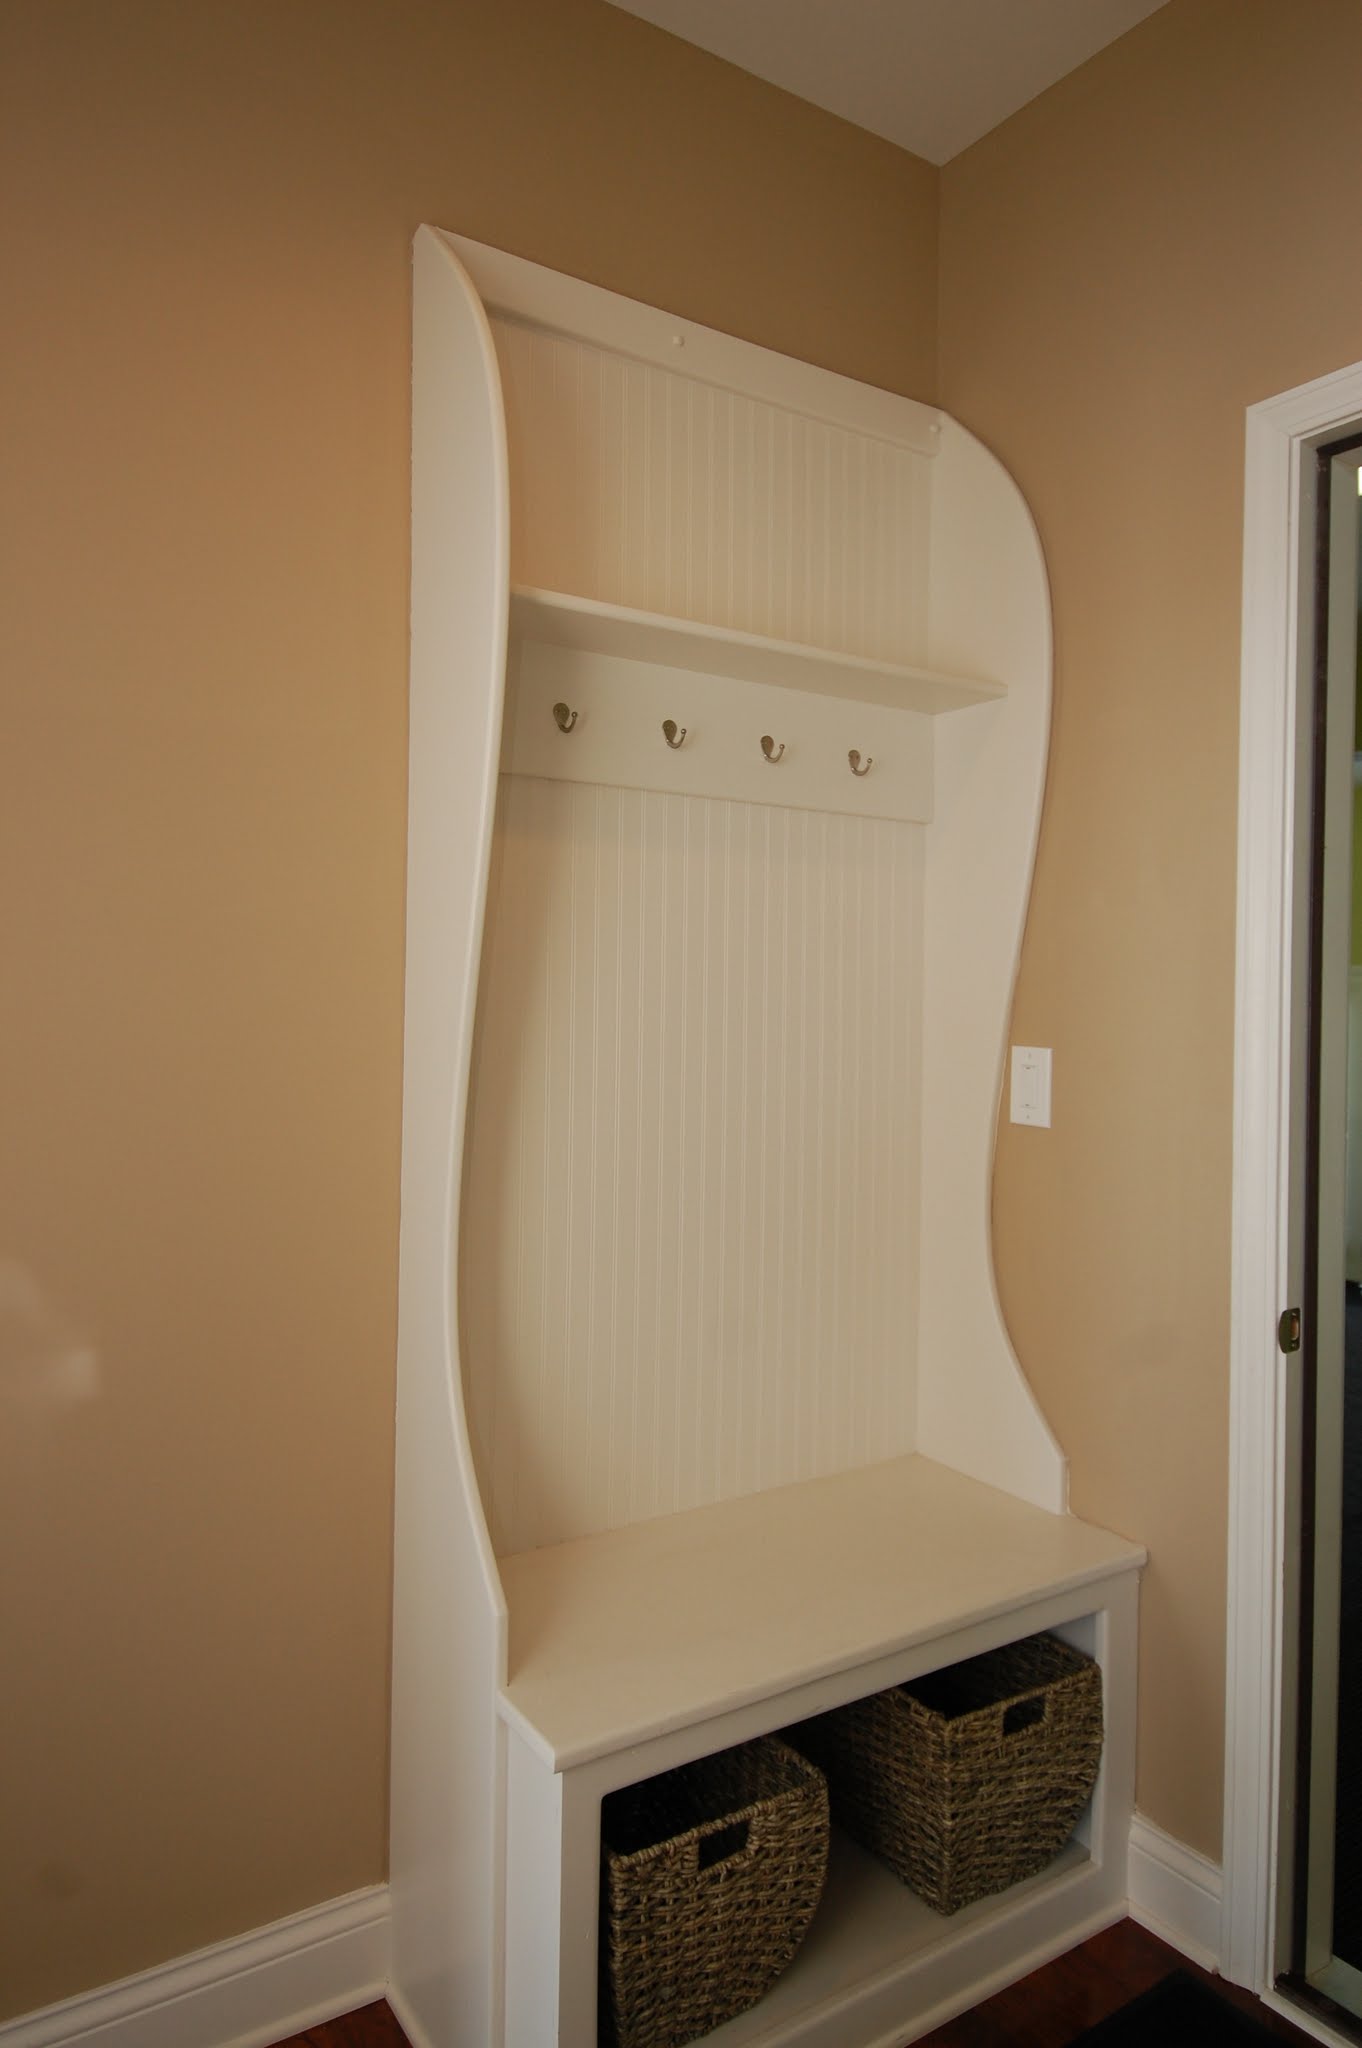 Have you made your New Year’s Resolution list yet? Like many people, you may have added “Get Organized” to your list of things you’d like to accomplish this year. One place that many people have trouble getting organized is the family drop-zone; a central place in the home where family members (sometimes literally) drop their keys, bags, mail or other important documents.
 Many of our homes have built-in drop zone areas , like the Glenstone or Livingston floor plans. However, if that area isn't organized, the accumulation of everyone’s stuff can get overwhelming! By getting (and keeping) your family drop zone organized, you can make sure everyone gets out the door in the morning quickly, while still keeping your home clutter-free at the end of the day.
When you're preparing to tackle your family drop zone, ask yourself these two questions.
Do I use this item on a daily basis?
If the answer is no, find another place for it. Only keep must-have items in your drop zone so that you keep it from becoming a dump-zone!
How can I better utilize this space?
After you’ve cleared out all the unnecessary items out of your drop zone, look at the space itself. Is there something you can add to make the space more efficient?
• Place a decorative bowl on the counter to hold your keys, or mount hooks on the wall to hang bags or purses.
• Get a basket for each member of the family to hold shoes, gloves, or scarves.
• Put drawer organizers to good use by holding pens, pencils, stray paper clips or stamps.
The final step in keeping your drop zone organized is to commit to keeping it maintained. When you come home from work, don’t just drop all the mail in a giant heap. Pledge to sort everything into its proper place. Involve your kids in your efforts too. When they walk in the front door, make sure they know that their shoes and bags need to be put in their bins or hung on the wall instead of dropped on the floor or the counter.
Do you have a family drop zone that you plan on organizing this year? Let us know on our Facebook page!
Friday, January 3, 2014
 If you’ve been outside today for more than a few minutes, you know that it is COLD outside! According to local weather reports, it looks like it’s only going to get worse as the weekend progresses. As temperatures drop, there is a greater need for you to take care of the pipes inside your house. Even in new construction houses, pipes run the risk of cracking and breaking, leading to water damage and costly repairs. Here are 4 things you need to do to prevent broken pipes in your house.
1. Locate your water shut off valve.
If you haven’t done so already, make sure you know where your water shut off valve is located in your home. Many times, it’s located near your water heater. Familiarize yourself with how to turn off your water quickly, just in case you do have a busted pipe.
2. Check your thermostat.
If you’re going to be away for a few days, don’t set your heat any lower than 55 degrees. You want to keep at least a little bit of heat circulating in the home so that your pipes don’t burst while you’re away.
3. Open your cabinets.
When temperatures drop below freezing, it’s a good idea to leave your cabinet doors open to allow warm air from the house to circulate around the pipes. This is even more important if the pipes are on an exterior wall.
4. Turn on your water.
If it’s extremely cold outside, turn on your faucets to allow a small trickle of water to come through the pipes. This will keep the water running in the pipes and keep it from getting frozen. If your sink has separate hot and cold faucets, let both of them drip. If there’s just one faucet, set it to medium so that both the hot and cold water lines are both activated.
Photo Source
Tuesday, September 24, 2013
Temperatures are cooling down and that means it’s time to start thinking of ways to prepare your Ball home for fall and winter. These simple steps can lower your utility bills and keep you and your family warm and comfortable throughout the cold season. 
- Clear your gutters and downspouts from debris frequently throughout the fall. Neglected gutters can lead to wood rot problems, pest infestations, wet basements, foundation damage and many other expensive complications. Consider installing gutter guards to cut down on the amount of leaves that can clog your drainage system.
- Caulking is one of the least expensive home repairs out there, with some of the biggest energy savings. Caulk around windows and doorframes to prevent heat from escaping. Silicone caulk is great for outdoor use because it won’t crack or shrink when the weather gets colder. If your weather stripping is cracked or loose or you can see daylight from inside your home, consider replacing it.
- Now is the best time to get your lawn ready for the spring. By spreading seed now, you give the roots enough time to germinate and develop a good root system before the cold weather sets in. If you can, aerate your lawn before you put down fertilizer, which will allow moisture and nutrients to get into the roots. We’ve found a great tutorial from DIY Network on how to aerate your lawn. If you aren’t able to aerate, consider mulching dry, fallen leaves rather than raking them. When you mow, remove the bag and let the pieces fall among the grass blades. This will allow them to decompose and nourish your lawn over the winter.
- Change your furnace filter regularly. Before you switch over to the heat setting, contact a licensed heating contractor to inspect and service your gas heater or furnace to avoid carbon monoxide poisoning. Your local utility company will often provide this service for free. Also have your wood-burning fireplace inspected, cleaned and repaired to prevent chimney fires and carbon monoxide poisoning.
- Just because it’s getting cooler does not mean that your ceiling fan can’t help you lower your utility bills. Change the direction of your ceiling fan to create an upward draft that redistributes warm air from the ceiling.
- Take the time to do some additional fall cleaning you don’t normally get around to, like laundering window treatments, vacuuming your mattress and box springs, and cleaning out the clothes dryer vent. These small tasks will help remove dust and dirt that can be circulated into the air while your home is closed during the winter months. This cleaning will also save you time when you begin your preparations for the fall and winter parties and guests you will be hosting in your home.
Are there any other maintenance tips you'd like to share? Let us know on our Facebook page!
Monday, August 5, 2013
.jpg) Today’s laminate countertops are more popular and more customizable than ever. Laminate comes in a variety of colors, designs, styles and shapes, and is a lasting and durable kitchen surface option. Laminate countertops are a popular solution for people who like the look of granite, but don’t necessarily like the price tag that goes along with it. Some natural looking colors and patterns of laminates are made to resemble granite, slate and other types of stone at a fraction of the cost.
Today’s laminate countertops are more popular and more customizable than ever. Laminate comes in a variety of colors, designs, styles and shapes, and is a lasting and durable kitchen surface option. Laminate countertops are a popular solution for people who like the look of granite, but don’t necessarily like the price tag that goes along with it. Some natural looking colors and patterns of laminates are made to resemble granite, slate and other types of stone at a fraction of the cost. Most laminate countertops are low maintenance and only require minimal cleaning to keep them looking their best. As with anything in your home, without proper maintenance, you might find yourself replacing them prematurely due to wear and tear. A regular, quick clean with general household products will keep your countertop lasting for years to come.
What You’ll Need:
Soft Cloth or Sponge
Soft and short bristle brush
Dishwashing Detergent
Baking Soda
1. Give your countertop a thorough cleaning. Use the dishwashing detergent, water and the cloth or sponge to completely wipe down the surface. Do not use acids, bleach, or abrasive cleaners, which can scratch or etch the surface of your countertops. Be sure to rinse off any excess cleaning solution and use a dry cloth to wipe up any additional water. Prolonged exposure to moisture can cause discoloration, buckling and warping of your laminate.
2. For stained areas, make a paste of equal parts baking soda and water. Put the paste on the stain, let it sit for a few minutes, and then scrub lightly with the soft bristle brush. After the stains are removed, be sure to rinse the area with water and thoroughly dry.
3. Clean up spills as soon as possible with a clean cloth or paper towel to avoid causing any permanent staining or damage.
4. For laminates that have a glossy topcoat, wipe countertops with a clean cloth and glass cleaning spray to keep them shiny after cleaning.